
Salty Sam’s Fun Blog for Children
Number 288
Art Deco
Hello Everyone

Last week, my blog post was about Art Nouveau which was an art style that grew out of a movement called the Arts and Crafts Movement.
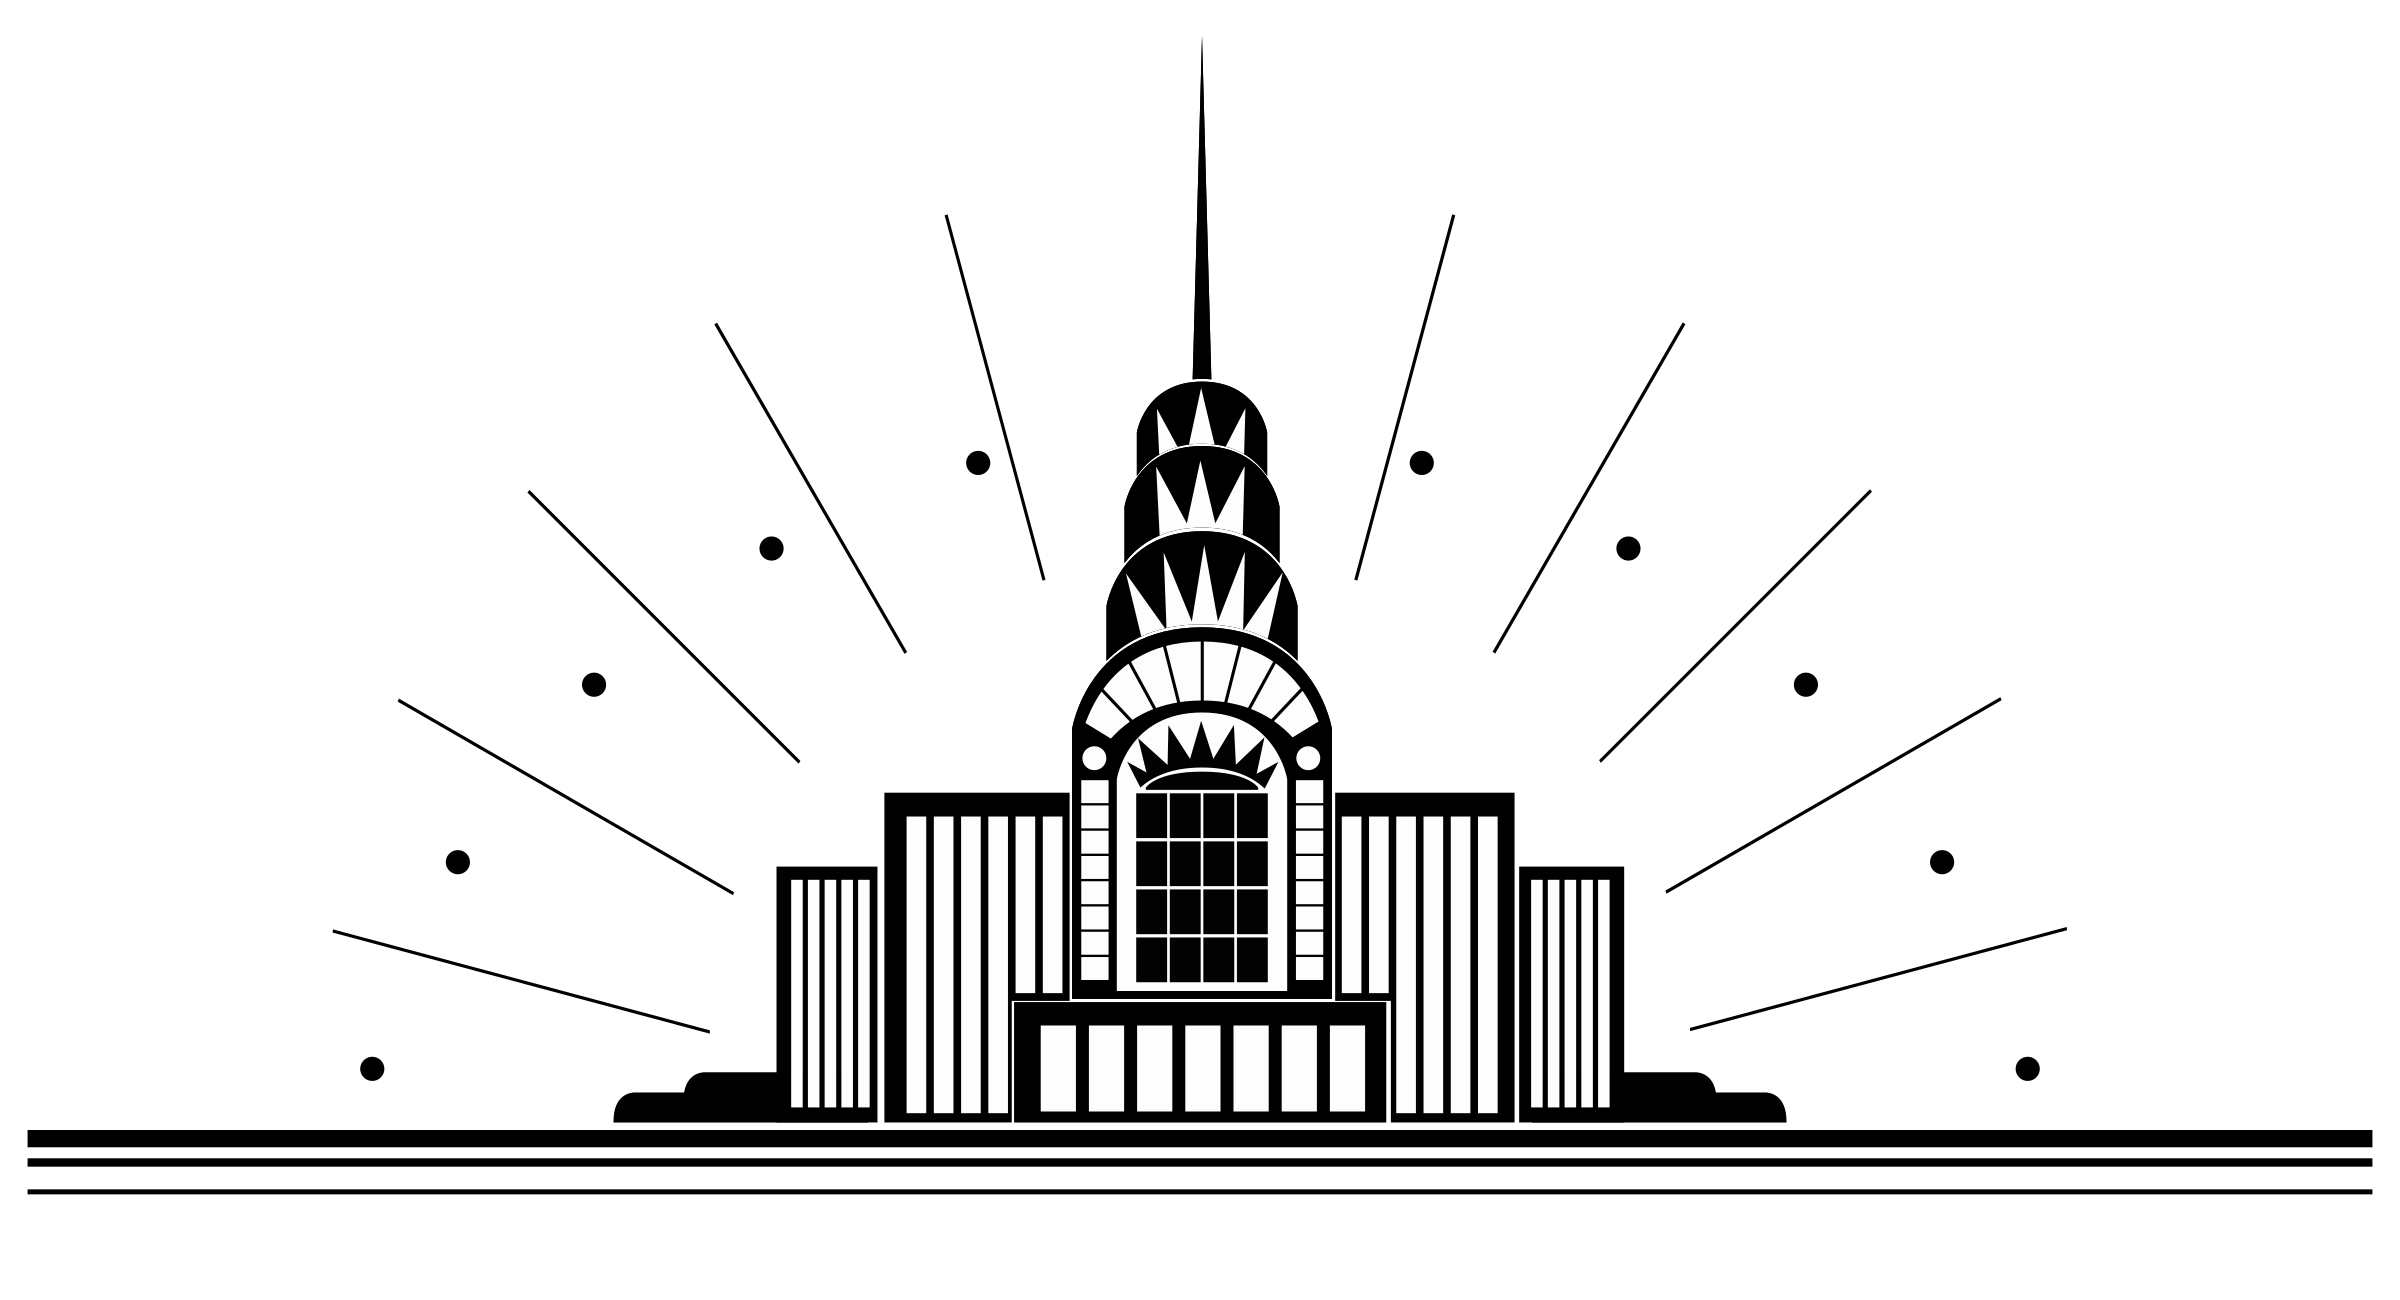
The style of architecture and design that followed Art Nouveau was Art Deco and it had enormous influence on the lifestyle of the 1920s and 1930s.
The full name was Arts Décoratifs.
l thought l should tell you about it, and now l can complete a trilogy of blog posts about design movements.
lt first appeared in France in the years just before the First World War, which broke out in 1914, and went on to influence the design of not only buildings, interior design and furniture but fashion, jewellery, trains, airships and huge ocean liners too.
lt was dynamic; it reflected luxury and glamour and a huge confidence in the success of society and technology at the time.
All of this was to be crushed during the spread of the Great Depression and the following world war.
lt was a reaction against Art Nouveau and included many different types of styles rather than being just one style.
lt combined modernist styles with exquisite craftsmanship using quality and sometimes very precious materials like jade, silver, marble and ebony which is a dark, exotic wood.
The French fashion designers and department stores had a huge part to play in making the style become fashionable. A lot of the skyscrapers in New York built at the time were in this style, like the 77-floor Chrysler Building completed in 1930.
Many Art Deco buildings constructed from concrete reinforced with metal rods were built in European cities and those of Central and South America and Australia and New Zealand. Many of them were office buildings, apartment buildings, railway stations, airports and cinemas.
Lots of Art Deco houses were built in British suburbs and many London Underground Stations are built in Art Deco style too.
Many of Miami’s beach front properties are famous for being in Deco style, many of them were actually built after the Second World War.
House interiors could be light and bright with slick lines which contrasted hugely with the dark, cluttered rooms of the Victorians only a few years before in the late 1800s.
Electricity was connected to houses from 1900. Electric lights were brighter and cleaner than gas lights so they made a huge difference to the look of interiors too.
New materials like Bakelite, an early form of plastic, could be used to make household objects like radios, electric plugs and telephones. But there were beautiful objects crafted out of glass as well.
Art Deco included geometric designs and bright colours. lt also often included the exotic styles of the East including those from China, Japan and lndia but also Ancient Egypt, especially after discoveries of the tombs of the ancient pharaohs at this time which had captured the public’s imagination.
With travel opening up the world, more people than ever before went to the far-flung corners of the Earth to experience foreign lands and cultures – just as long as they had the money to do it.
A fine art style (painting pictures) called Cubism also influenced Art Deco. Artists who painted in this style would give their subjects very cube-like features.
At the height of its popularity, Art Deco was exhibited in the lnternational Exhibition of Modern Decorative and lndustrial Arts which took place in Paris from April to October in 1925. This was officially sponsored by the French government and included 15,000 exhibitors of modern products from twenty countries and had millions of visitors.
When the Great Depression started to spread in 1929, many rich people lost their fortunes and many others lost their job. The quality materials used so often to create Art Deco objects could not be afforded anymore.
So have a look in the Picture Gallery now and see which of the styles l have talked about in this and the last two blog posts you like the best and why?
lf you have made some of the projects on this blog and chosen your own colours and accessories for them and then maybe even given them a little twist of your own, you might be starting to think of yourself as a designer too.
Maybe one day you will start a design style of your own.
Bye bye everyone – don’t forget to subscribe to my blog!
lf you like my blog, please support it by telling all your friends and followers about it.
Thank you!
And see you again next Fun Friday!
Love and kisses
Salty Sam

www.christina-sinclair.com

Bill and Bob’s Joke of the Week![]()
![]()
Bob: A woman goes into a shop and says to the assistant, “May l try that dress on in the window, please?”
Bill: And what did the assistant say?
Bob: She said, “No, l am very sorry madam, but you will have to try it on in the fitting room like everyone else!”
Salty Sam © Christina Sinclair 2015
Unauthorized use and/or duplication of material from this blog without express and written permission from this blog’s author and owner is strictly prohibited.
Links may be used to www.christina-sinclair.com

Picture Gallery
 An example of cubist style
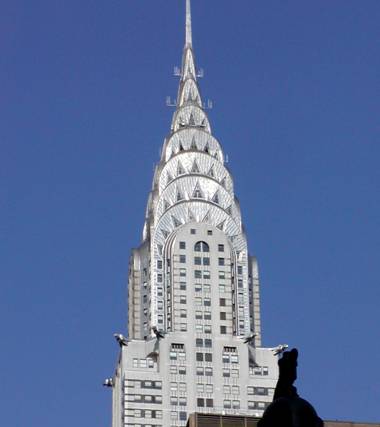 The Chrysler Building
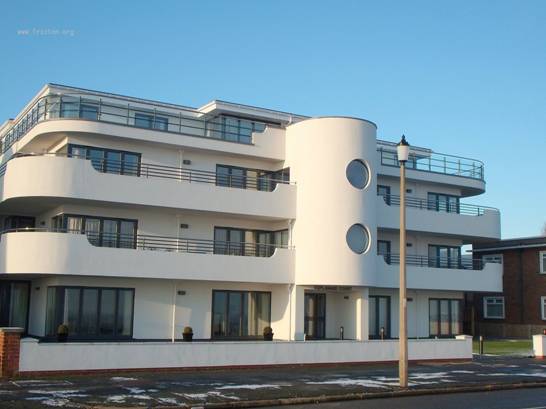 This building reminds you of a ship
 Ocean Liner
 Miami
Miami
 London
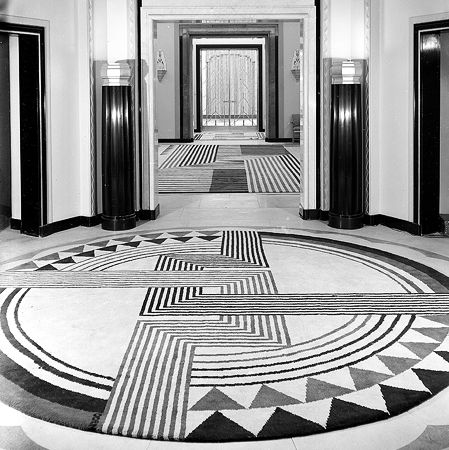 Art Deco style
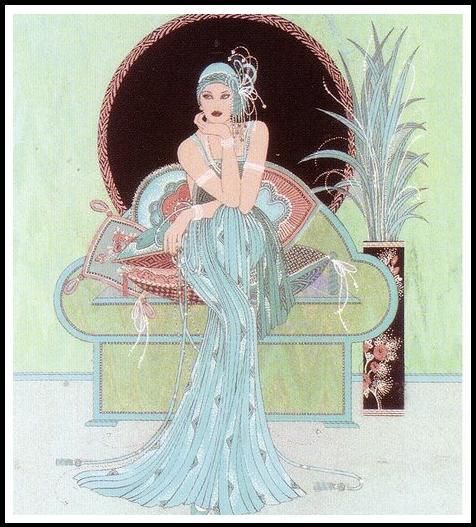 Art Deco Style


 THE SALTY SAM NEWS DESK

Have you ever wanted to make a cheesecake but every recipe you have found looks too difficult?
Here is a really easy recipe for you to use.
Emily made it for her family last weekend and she thought you might like to try it too.
It is also vegetarian because it doesn’t have gelatin in it.
NEWSDESK MINIMAKE
CHOCOLATE CHEESECAKE
INGREDIENTS
350g digestive biscuits or ginger biscuits or chocolate cookies
70g melted butter (this can be done easily in a microwave or you can melt it gently in a saucepan)
500g good-quality white chocolate broken into chunks and placed into a bowl
300g cream cheese
250g mascarpone cheese
METHOD
Crush the biscuits and put into a mixing bowl
You might want to put the biscuits into a plastic bag and bash the biscuits with a rolling pin in order to crush them – it is important not to do any damage in the kitchen as you wield your rolling pin around!
Put the melted butter into the mixing bowl and mix into the crumbs
Spread this mixture into a tall round spring-form tin (anything around 25cm in diameter)
Place this in the fridge to become cold
Heat the cream gently in a saucepan
Pour the cream over the chocolate and let it stand for one minute
Then stir the mixture so that the chocolate melts
Let the mixture cool
Whisk the mixture with an electric beater (keep you hair well out of the way of the beaters)
Add the cream cheese
Add the mascarpone
Put this topping onto the base
Leave in the fridge for three hours
Once the cheesecake is cold and ready to serve, you can decorate it.

You could use ready-made decorations or break up a chocolate flake bar into tiny chunks to sprinkle over the top.
Or you could put some fruit on top because fruit like raspberries and strawberries go well with chocolate.

*********************
TO ADVERTISE ON THIS BLOG
PLEASE CONTACT:
christina.sinclair.ads@aol.co.uk
*********************


Quick Quiz
Draw a grid four squares across and thirteen squares down.
Write words in the boxes across the grid using these clues to help you.
Find a character famous for living in the time when Art Deco was popular.
- They lay eggs for you to eat
- Something large and magnificent
- What a king or queen is there to do
- A large shellfish
- The plant pots at the top of columns in a classic style garden
- What you have around your mouth
- The opposite direction to west
- Another word for a bucket
- The opposite to close
- An image/representation
- The structures that drill for oil and gas
- A sign that something is going to happen
- A Norse god associated with thunder


lt’s the Weekend!

HOW TO MAKE A PLASTlC CANVAS NEEDLE BOOK
You will need 1 sheet of 7 mesh 10.5 by 13.5 inches/26.7 by 34.3cm
TIP
Be mindful of which way your stitches are laying as you work. They can be in any direction – the same way across the two panels or two mirror images but you should end up with a neat piece of work.
- Cut 2 panels of plastic canvas 19 holes by 19 holes
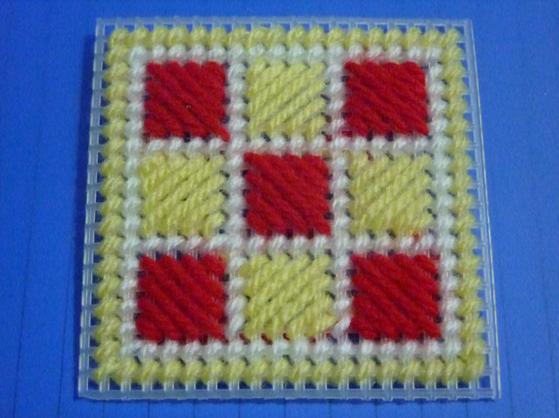
- Work nine squares onto each panel laying your yarn in the same direction or different directions
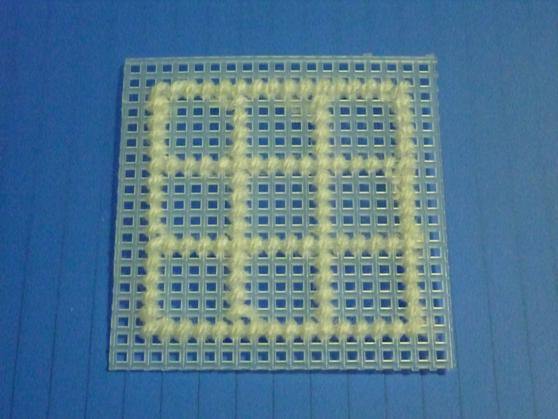
- Run a line of tent stitches between the squares (or work these lines before the squares)
- Run a border of tent stitches around the central squares in two different colours
- Cut 2 pieces of felt 7cm/2¾ inches square
- Sew them to the inside of the two worked pieces using sewing thread
- Sew around the edges of the panels and sew them together as you work – so sew around three sides and then up the spine and then around the three sides of the second panel
- Add two inner leaves if you want to by cutting a piece of felt to cover both halves of the case and sew it in place at the top and bottom of the spine with a few catch stitches
If you want your case to close up tightly, sew a snap fastener onto the pieces of felt before you fix them in place or incorporate a loop of yarn on one side and a little button on the front before you sew the panels of felt in place
Look at the photographs for guidance
TIP
When objects are going to be handled a lot it is best to use darker colours on the edges and corners rather than colours like white or yellow.


Please note that the material on this blog is for personal use and for use in classrooms only.
It is a copyright infringement and, therefore, illegal under international law to sell items made with these patterns.
Use of the toys and projects is at your own risk.
©Christina Sinclair Designs 2015


Quick Quiz Answers
- Hens
- Epic
- Rule
- Clam
- Urns
- Lips
- East
- Pail
- Open
- lcon
- Rigs
- Omen
- Thor


I was very pleased to search out this net-site.I wanted to thanks for your time for this excellent learn!! I positively enjoying each little little bit of it and I have you bookmarked to take a look at new stuff you weblog post.
Thank you Albert!