
Salty Sam’s Fun Blog for Children
Number 127
Crops from Trees
Hello Everyone
lf you have fruit trees in your garden like Auntie Alice does, you will know that there are many crops that you can pick from them: plums, greengages, apples, pears and cherries, to name but a few.
Then there are wild trees in the hedgerows that give food to eat as well like hazelnuts, sweet chestnuts and elder berries.
Bees can take nectar from tree blossom to make into honey.
But there are other things that you can get from trees that might surprise you.
Did you know for example that rubber comes from a type of tree? Yes really – the rubber bands you have in your desk tidy were probably originally tree latex. Latex is the juice that comes out of trees when they are damaged. Animals who eat plants don’t like the taste so it is there to keep them away and the tree avoids being eaten!
lnsects who nibble at the latex sap get their jaws locked together.
However, humans find this product very useful. Ancient forest dwellers dipped their feet in a latex to create a covering which protected their feet.
Later in more modern times, the rubber was used to make bouncy balls and waterproofing for cloth, but now it is used to make car tyres and the inside of golf balls.
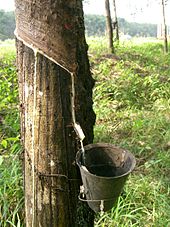
Rubber trees are grown on farms called rubber plantations. A diagonal channel is cut into the bark of a rubber tree and as it ‘bleeds’ the milky white fluid runs down into a collection cup. Nowadays you can also get synthetic rubber too– that means ‘man-made’ from chemicals.
Another juice produced to help a tree protect itself is the resin produced by conifers, and we use this in varnishes that we use to paint wood. This creates a protective surface on it.
The resin from the eucalyptus tree is used to make medicines that help you breathe more easily when you have a head cold.
And sap, which is another plant juice, can be used to make products as well. Maple syrup comes from the maple tree. A hole is drilled into the trunk and the sap is extracted through a pipe. You may like putting maple syrup on your pancakes.
ln Northern Europe, Russia and Alaska, people make a drink from the sap of birch trees.
For a very long time people have used the sap of two species of acacia tree to make gum arabic which is a kind of glue.
Curry trees and tea trees give us crops from their leaves, and coffee trees give us crops from their berries. The fruits of the cocoa tree give us cocoa and chocolate. Palm oil is used in many products like soap.
Nutmegs are tree seeds and cloves are tree buds. Brazil nuts, cashews, hazelnuts, chestnuts and walnuts are all tree seeds. (But not peanuts which grow under the ground like potatoes do.)
Another material produced by trees is cork. Corks are used to seal wine bottles. Cork is actually the bark from the cork tree which is a kind of oak. The bark is harvested about every ten years. Taking the bark off a cork tree doesn’t kill it. The bark grows back over time to be harvested again.
Cork is also used to make, tiles, notice boards and parts of musical instruments. Cork trees live in hot countries like Portugal.
There are other trees that have a special bark that people have learnt is useful. Aspirin originally came from willow bark and cinnamon that you use to flavour your apple pie is also a kind of bark.
Now if you will excuse me, l think l need to go and get something to eat; all this talk of food is making me hungry.
Bye bye everyone – don’t forget to subscribe to my blog!
lf you like my blog, please support it by telling all your friends and followers about it.
Thank you!
And see you again next Fun Friday!
Love and kisses
Salty Sam

www.christina-sinclair.com


Bill and Bob’s Joke of the Week![]()
![]()
Bill: Where would you get a job playing a rubber trumpet?
Bob: l don’t know. Where would you get a job playing a rubber trumpet?
Bill: ln a rubber band!
Salty Sam © Christina Sinclair 2015
Unauthorized use and/or duplication of material from this blog without express and written permission from this blog’s author and owner is strictly prohibited.
Links may be used to www.christina-sinclair.com

Picture Gallery
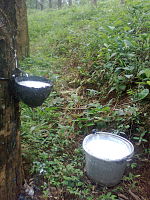
A rubber tree
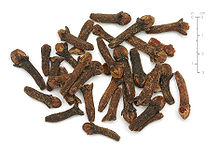 Dried cloves
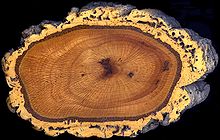 Cork bark
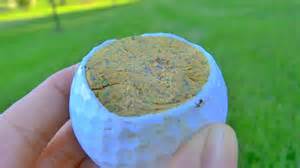 Inside a golf ball
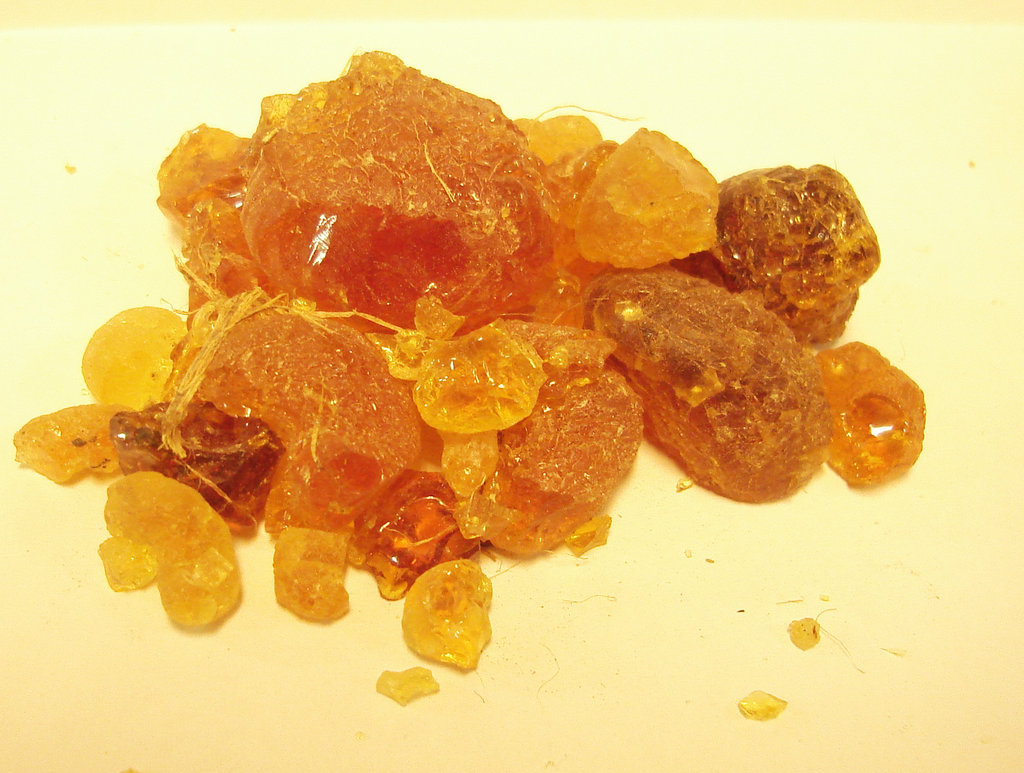
Sap to make gum arabic
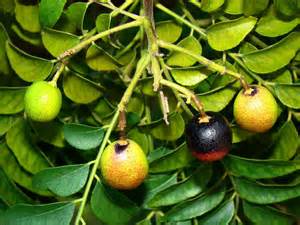 A curry tree
 A cocoa tree
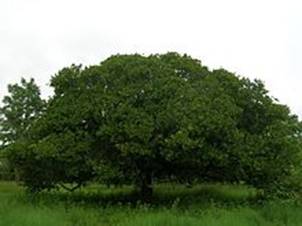
A cashew tree
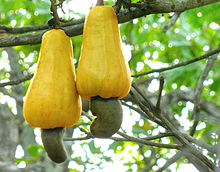
Cashews growing in India (they originate from Brazil)
The nuts are expensive to buy; the apples they grow from are edible but not transported great distances because of their fragile skin

A nutmeg tree
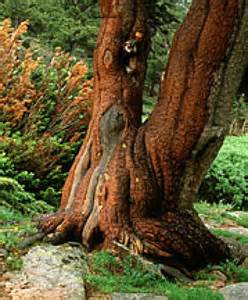
A cinnamon tree
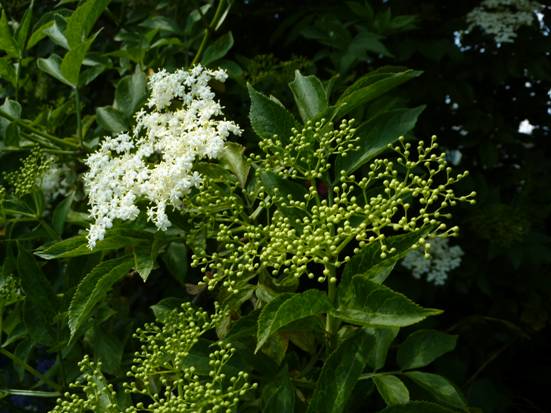 Elder flowers and elder berries have been traditionally used to make wine in Britain
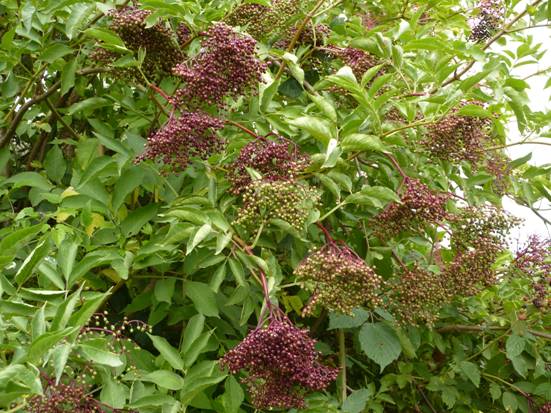 The flowers make white wine and berries make red wine – but they can also make cordials
 Sweet chestnuts are a different shape from conkers, they have a white tufted top and their cases have more spines
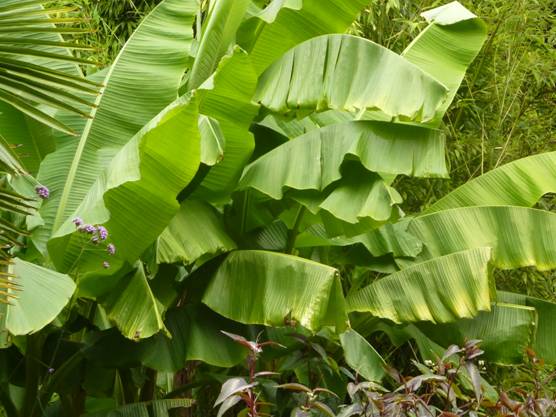
Bananas can be grown in Britain but they may need to be protected against winter weather
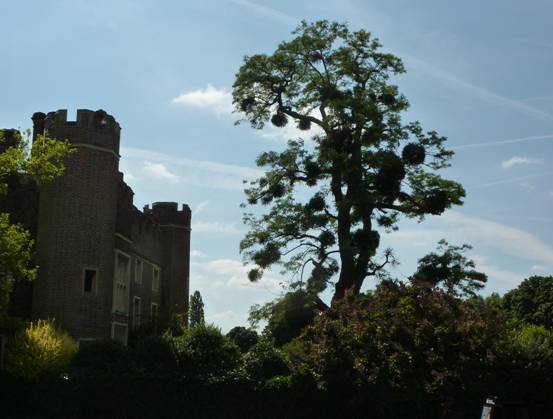 Clumps of mistletoe growing on an acacia tree
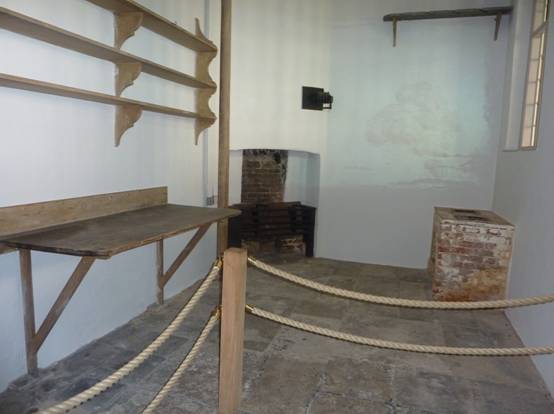 A surviving example of a chocolate kitchen – this one is at Hampton Court Palace
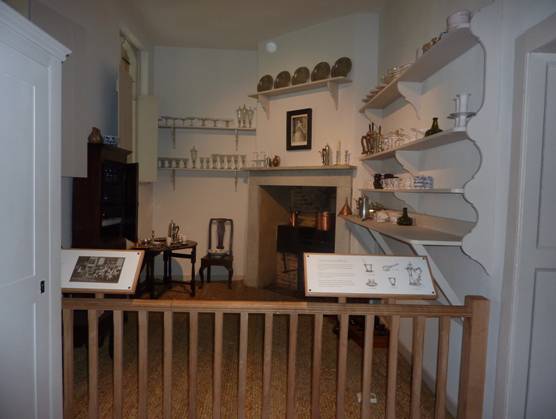
Chocolate was originally consumed as a drink
 This chocolate preparation room was for George I and George II
 Travelling became more comfortable when wheels were rimmed with rubber instead of wood
 A mango tree

An ebony tree has very dark wood
 How bananas grow


 THE SALTY SAM NEWS DESK

Bill, Bob, Henry and Emily like playing board games on the floor, but they had a problem with the dice shooting under the sofa and chairs when they were shaking the dice in the cup too vigorously.
So Auntie Alice came up with a great idea to solve the problem – giant dice.
These dice can be thrown up in the air and across the floor and are very unlikely to get lost! They are also less likely to get lost if you are playing in the garden.
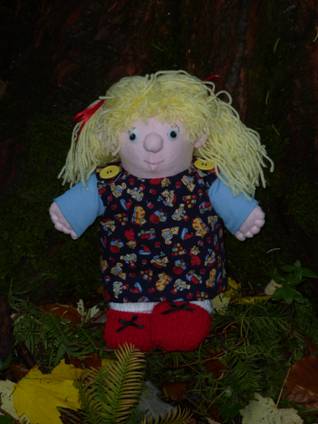
Be careful you don’t go to mad throwing them about though – so that they end up in the fish tank or bonk someone on the head!
NEWSDESK MINIMAKE
GIANT DICE
The dice can be made out of one sheet of 7 mesh canvas 26.7cm x 34.3cm/10.5 in x 13.5 in.
You will need 6 panels that are 15 holes square for each die, but of course you could make bigger dice if you would like to – but make sure that you first measure your panels to fit your design.
*These two dice can be kept in the box made in Blog Post 82.
Cover your panels in half cross stitch stitches. Then embroider crosses onto the panels before sewing them together with a contrasting colour to make them look more interesting.
If you use a very dark colour to cover your die, you will find it easier to find where to place your crosses if you hold the panel up to the light.
Use the net (flattened version of a three dimensional figure) below as a guide when you put your squares together.

Of course if you really wanted to, you could make a really random die with different numbers on – you could have one with seven or eight or nine pips (spots) on!
And if you want to hang the dice up as decoration in your car, tie a knot at the end of a loop of ribbon or a length of cord and insert the knot into a corner of each die before you complete the sewing together of the panels.


*********************
TO ADVERTISE ON THIS BLOG
PLEASE CONTACT:
christina.sinclair.ads@aol.co.uk
*********************


Recipe Spot
This is a quick recipe for Auntie Alice’s Amber Apple Tart which she says she is very happy to share with you.
You will need a sheet of pastry, three cooking apples, a 200g packet of shortbread biscuits (or you can make your own from Blog Post 116) and some sugar and cinnamon.
Line a 20cm/8 inch pie tin with pastry and bake in the oven for 10 minutes at 200°c with a layer of greaseproof paper and baking beans weighing down the centre of the tart.
![]()
Peel, core and slice 3 medium sized cooking apples and put the slices into a saucepan with ¼ cup of water, ¼ cup of sugar and a teaspoon of cinnamon (heaped if you like a strong taste of cinnamon).
Put 200g of shortbread biscuits into a bowl and bash and crush them with the end of a rolling pin (or put them into a plastic bag and crush them by rolling the pin over the bag).
Either layer the apples then the crumbs in the case or mix them up together so that the crumbs don’t fall all over the place.
Put back in the oven for another 10 minutes.
You can eat this hot or cold with cream, custard, ice cream or on its own.
(Don’t forget to wash your hands before you start cooking anything.)


BLOW MY FOGHORN!!!
PLUS
Salty Sam fans can join in with their comments and share them with children all over the world. You will need to ask permission if you are not an adult.
Enter your e-mail address to subscribe to my blog and receive new Salty Sam Blog Posts for free by e-mail every week. Your address will be kept private and will not be shared with any third party.
Sign me up at the side bar


lt’s the Weekend!

HOW TO MAKE FELT RUSSlAN DOLLS
Russian dolls are usually made of wood. They are all hollow and each one holds another doll inside except for the one in the very middle.

Russian dolls
This is a really nice way to use up little scraps of felt. The more colours you use the better, but you will need some pale pink felt for their face.

The small version can be used as pencil tops or badges and can be pinned onto a plain jumper to make it more interesting – but don’t forget to take them off when you wash your jumper.
The larger version can be used as a small dressmaking scissors holder or a needle case.

Unless you have very nimble sewing fingers it would be better for you to make the larger version. You can adjust the size of the pattern on a photocopier – if you want to make a Russian doll egg cosy, make sure that the base measures 8cm/just over 3½ inches to fit round a medium size egg – measure the eggs you buy just to make sure and don’t forget to add a tiny seam allowance.
- Cut the hole at the front of the headscarf by folding the felt in half first.
- Embroider a pattern on the front of the doll and the back of the headscarf – use one strand of embroidery thread and don’t sew too close to the edge.
- Embroider a face onto the pink circle using two upside-down ‘vs’ and dots for the eyes and a ‘v’ for the mouth.
- Anchor the face to the body keeping your stitches clear of the opening in the headscarf.
- Blanket stitch along the bottom edge of the front using a contrasting colour.
- Sew the back to the front by continuing with blanket stitching up the side, down the other side and across the bottom of the back.
- Tack the headscarf in place and blanket stitch around the top of the head – you can stitch along the bottom of the scarf as well if you like.
TIP
If you want to turn the doll into a needle case, put two pattern pieces together with bases touching and cut the back and front bodies as one piece. Embroider the front of the body and stitch a piece of thin felt 10cm/4 inches by 5cm/2 inches across the centre anchoring it to the base (this inner leaf of felt is to put your needles in). Sew a snap fastener to the inside of the top of the head (one half to the front and one half to the back) before you attach the headscarf. Obviously the sides of the doll would not be sewn together.


Please note that the material on this blog is for personal use and for use in classrooms only.
It is a copyright infringement and, therefore, illegal under international law to sell items made with these patterns.
Use of the toys and projects is at your own risk.
©Christina Sinclair Designs 2015

For an Embroidery Stitches Chart
Check out Blog Post 3

Its a perfect time to make some plans for the future and its time to be happy.
Ive read this post and if I could I wish to suggest you some interesting things or suggestions.
Maybe you could write next articles referring to this article. I want to read even more things about it!
Well, l hope you are happy.
There are lots of posts on this blog about trees, they are very important to us. Have a look!
So much good stuff here. Very different from other blogs. Kudos to you!
Thank you so much Pete! 🙂
Great blog. I will tell my friends and bring you in more readers. They will love this site.
That is very kind of you Anne. Thank you for your support. lt is greatly appreciated!