
Salty Sam’s Fun Blog for Children
Number 122
Waves
Hello Everyone
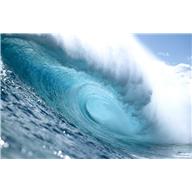
My nephews Bill and Bob have very enquiring minds, and asked me the other day why tropical seas are so sparkling clear when seas around here are not so ‘see-through’.
The answer is that; the cooler the temperature of the sea water, the more life there is living in it. Nearer the poles where the water is colder the seas are full of tiny creatures called plankton – or micro life. They are so small that you would need a microscope to see them properly.
Funnily enough, enormous creatures like some species of whale like to feed on these smallest of sea creatures.
The whales travel to the colder waters to spend some of the year feeding on this nutritious ‘soup’ – plankton are more plentiful where the seas are colder.
The seas near to the poles often freeze on top, and animals like whales and seals and penguins have to swim under the ice.
l’ve never seen the sea freeze like that around here. There are usually waves moving about on it – apart from the stillest of days, when we say that the sea is ‘like a millpond’.
When the waves break near the shore they have white foamy crests on them, these crests are often called ‘white horses’. On stormy days they become quite big. You should never paddle in sea like this or let your dog go in the water because you could be knocked over and dragged into the water as the wave pulls back into the sea.
The waves near the beach often wash in objects. These are sometimes called flotsam and jetsam. Flotsam means part of a wrecked ship and jetsam things thrown overboard on purpose.
A boat bobbing about on the waves out at sea – as long as it was not caught in a current or moving using its engines or sails, will stay roughly in the same place. This is because although it looks as though the waves are travelling, the boat goes up on the top or ‘ridge’ of a wave but then is pulled back to its original place in a dip – this is called a ‘trough’ (pronounced troff).
Waves will also break over rocky outcrops, if they stand up high enough from the seabed. lf you see white foam in the middle of the sea, this could be an indication that there are rocks just below the surface.
ln fact, that is why my lighthouse is here. Ships will see the lighthouse even if they don’t see the rocks it is standing on – or the water breaking over them! ![]()
The biggest waves are tsunamis. These are ripples in the water that are created by the movement of undersea earthquakes or volcanic eruptions. Tsunami is a Japanese word that means harbour wave – so called because these kinds of wave are not always very obvious at sea but when they reach shallow water they slow down and the wave height increases. By the time they reach the shore, they are high walls of water and as they make their way over the land they are very destructive.
You know when one of these waves will hit the coast when you see the sea drain back from the beach a long way. This is called a ‘drawback’.
That is the time to get off the beach quickly and seek higher ground. The best place might be in a high rise building. You must shout to other people as well so that they will know what to do – if they can’t speak English, point to the sea and beckon to them to follow you away from it.
The beginning of the tsunami will be only a few centimetres/inches deep, but what will follow will be many surges of high water in what is called a ‘wave train’.
Some places in the world monitor the sea so they can give warnings to people on land that a dangerous surge might be on its way.
One of these waves hit England in 1703 and a ship was found 15 miles inland. But luckily this doesn’t happen very often.
Bye bye everyone – don’t forget to subscribe to my blog!
lf you like my blog, please support it by telling all your friends and followers about it.
Thank you!
And see you again next Fun Friday!
Love and kisses
Salty Sam

www.christina-sinclair.com

Bill and Bob’s Joke of the Week![]()
![]()
Bob: Why did the fish cross the sea?
Bill: l don’t know. Why did the fish cross the sea?
Bob: To get to the other tide!
Salty Sam © Christina Sinclair 2015
Unauthorized use and/or duplication of material from this blog without express and written permission from this blog’s author and owner is strictly prohibited.
Links may be used to www.christina-sinclair.com

Picture Gallery

Tropical waters are clear
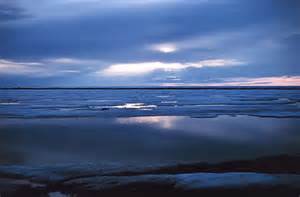 Arctic waters are rich in micro life
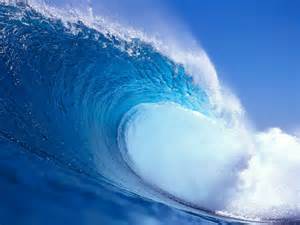 The top of a wave is called a crest
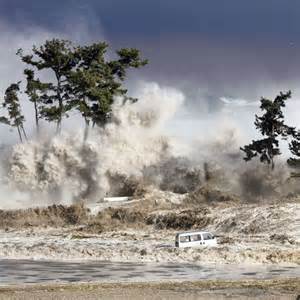
A tsunami travels across the land
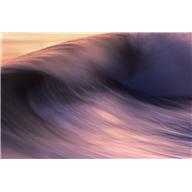
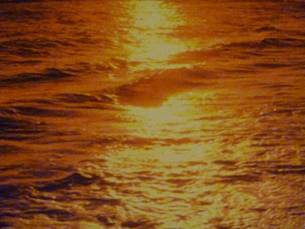 A sunset reflected in waves

 THE SALTY SAM NEWS DESK

The whole family was very excited this week because my Auntie Alice had some exciting news for them.
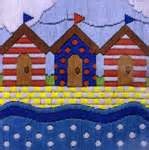
My Auntie Alice has just bought herself a beach hut in Sandy Cove.
It is a place that all the family can use when they go down to the beach. It is an especially nice one, with red and white stripes on the outside and piped water and a little stove to boil a kettle for tea on the inside.
It isn’t easy to get a beach hut in Sandy Cove. They don’t come up for sale very often.
The main purpose of beach huts is for people to get changed into their swimming costumes and this was the reason they were invented over 250 years ago at the first seaside resort, Scarborough, in Yorkshire.
Seaside resorts started to become popular when doctors started to recommend sea bathing for people’s health.
Before this, visiting spas like Bath for your health was the fashion; but it was only for rich people. A spa was a natural spring of water springing up from under the ground. The water contained minerals. People used to drink it and bathe in it.
Scarborough was a spa town too, but it was also situated on the coast.
As beaches became a place for holiday makers not just for fishermen, smugglers and locals, Scarborough was well-prepared for them, already having guest houses and hotels to accommodate visitors.
In the 1800s, swimming in the sea became very popular. People used to change into bathing costumes that covered most of their bodies inside little huts on wheels. These were pulled down to the water by horses. They could be hired by day trippers.
Queen Victoria had her own and it was used by her and her family. It can still be seen at Osborne House on the Isle of Wight.
In the Edwardian Era, the changing huts had their wheels removed and become static huts, and lines of stripy tents were also erected for people to change in.

Torbay
The invention of railways made it possible for the masses to visit the seaside. Holidays and day trips were no longer just for the rich.
The bathing machines disappeared during WWII when the beaches were set with land mines in case of an invasion. Many abandoned huts were cleared away to make room for coils of barbed wire.
But after the war, when people went back to enjoy the beaches, rows of beach huts were erected for people to have a little ‘home from home’ by the coast.
They were very often built and maintained by local authorities. Some were built with drift wood because building materials were in short supply at that time.
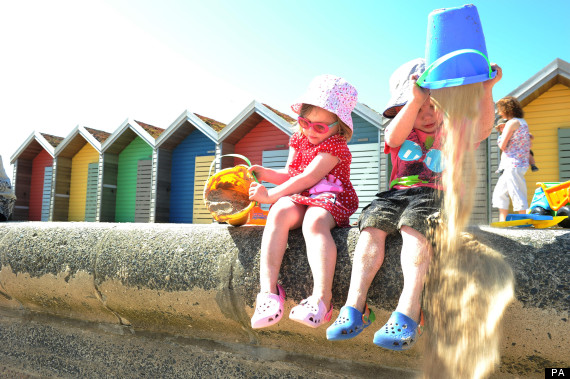
Although you can’t stay overnight in them, beach huts are still popular with a lot of people today. They like to sit in them or just outside them on a sunny day and look at the sea. These huts give shelter from cool sea breezes or an unexpected shower.
Some are owned and some are hired for the day or week.
They have become more fashionable recently as the British seaside has had resurgence in popularity.
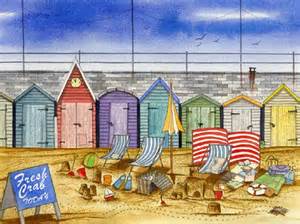
They are also to be found in other countries like Australia, France and Italy.
Some people paint beautiful pictures on them which make them look like works of art.
Bill and Bob want to paint pictures on Auntie Alice’s beach hut – she is still thinking about the offer!

Auntie Alice

*********************
*********************


Crafty Tip
This is a really easy way to make a sun catcher.
You will need some thick black paper or thin black card
(You can use another colour and paint it black if you prefer)
Some white paper for practising a design on
A pencil
A small pair of scissors
A see-through sweet wrapper, coloured cellophane or tissue paper

*Always put down lots of newspaper to work on before you start gluing or painting.
- Draw around your sweet wrapper onto white paper.
- Your picture must be smaller than this shape.
- Draw the picture and divide into sections.
- You can draw your own picture, print one off the lnternet, trace one from a book or magazine or draw around a picture cookie cutter and then draw some detail inside the shape.
- When you are happy with your picture, shade in the parts that you will want to cut out.
- lf any of these shapes are really big, you will need to create what are called ‘bridges’. These are bands of card that go across holes which will hold your stencil together in one piece!
- Look at your picture carefully and make sure that all the card left after cutting will be attached to all the other pieces.
- Cut out the shapes that are inside the picture.
- Trace around the shapes onto your black card which should be bigger than your sweet wrapper.
- This time the cutting out may be more difficult because the card will be stiffer than the paper, so use a modelling knife if you are allowed to use one to make your lines sharp and neat, but be careful because the blades are sharp and use a cutting board to rest on – if you are not allowed to use one, then use the smallest pair of scissors you can (make sure none of the parts of the picture are too small for you to cut out with scissors).
- When you cut out the holes, start by putting your scissors in the middle of the shape and work outwards – this will give you neater edges.
- Use sticky tape or glue to stick the wrapper to the back of the card.
- Use a reusable adhesive and stick it up on your window to see the light shine through the sweet wrapper (use sticky tack to put it on the window so that the window is not marked).
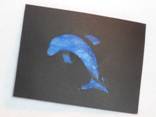
lf you make a large picture with several sweet wrappers or different colours of tissue paper, it will look like a stained glass window with different colours in different parts.
Butterflies, flowers, fish and bees are good shapes to use.

BLOW MY FOGHORN!!!
PLUS
Salty Sam fans can join in with their comments and share them with children all over the world. You will need to ask permission if you are not an adult.
Enter your e-mail address to subscribe to my blog and receive new Salty Sam Blog Posts for free by e-mail every week. Your address will be kept private and will not be shared with any third party.
Sign me up at the side bar


lt’s the Weekend!
HOW TO MAKE A BEACH HUT DOLLS’ HOUSE
If you ever have a holiday in a static caravan or tent or beach chalet, you might take little dolls or toy animals with you.
If your doll’s house people would like to acquire their own seaside holiday home, this beach hut could be the perfect choice!
There is plenty of room inside for bunk beds, a gas ring, a table and chairs and lots of storage space for sun chairs to take onto the beach.
If you are not the kind of person who plays with dolls, you might prefer to use it as a boathouse.
Made in darker colours, it could become a garage.

You will need 7 sheets of plastic canvas 10.5” by 13.5”
A 100g ball of white yarn and a 100g ball of red
A length of dark red embroidery thread
A length of black yarn
4 white buttons with shanks
(a yarn needle and sewing needle)
First you need to cut your panels, and they are best measured out first using short lengths of knitting yarns threaded through the cutting line holes. Then double/triple check your counting.
The end walls are 44 holes wide and 40 holes up the sides of the walls with diagonal cuts from the top of the side walls up to a point (61) – x 4 panels
The side walls are 54 holes wide and 40 holes high – x 4 panels
The base is 54 holes by 44 holes and is not stitched – x 1 panel
The roof is 70 holes by 40 holes – x 4 panels
![]()
The stripes are 5 rows deep worked in diagonal stitches on the outside walls and long stitches on the internal walls. They are red and white on the outside walls and white only on the inside walls – to look like whitewashed boards.
The roof is worked in red long stitch.
![]()
Start working on all the walls and the roof from the base because the top stripe is a different width.
Don’t carry the red yarn across from stripe to stripe as you work because it will show through to the front.
DON’T FORGET TO MATCH THE STRIPES UP ALONG ALL THE SIDES!
The doors are 34 holes wide and 37 holes high including the frames – stitch them onto the front panel and then fill in the surrounding area with stripes.
![]()
Sew 4 buttons with shanks onto the outside of the side walls at the front.
Sew back and side walls to the base sewing through 3 thicknesses at the same time.
Then down the back corners using over-sew stitches in white yarn making sure that you match the all holes up properly sewing through 4 thicknesses of canvas at the same time. If you don’t have very strong fingers, you may need help at this point.
Over-sew the rim of the three walls at the front and top to secure them together. Be careful not to leave any sharp points exposed!
Over-sew the top point of each end wall many times to pad this point.
![]()
Sew around the frame of the door with dark red embroidery thread.
Embroider the hinges and bolt on the front doors with black yarn and use any other decoration of your choice.
Over-sew inner and outer panels together around rims incorporating the loops to go over the buttons.
TIP
In order to make the loops stronger you could use thin string or chunky yarn or crochet a chain into your yarn to make it stand up to wear and tear better.
![]()
Over-sew 2 sides and bottom edges together on both sets of 2 roof panels (wrong sides together) then the 4 thicknesses along the ridge to sew each side of the roof together.
![]()
Make a card floor 20½cm/8 1/10 inches by 16½cm/6½ inches
Make a plastic canvas mat with any design you like to decorate the floor using an off cut of canvas that you have.

![]()
This project is very time-consuming although the embroidery itself is not difficult.
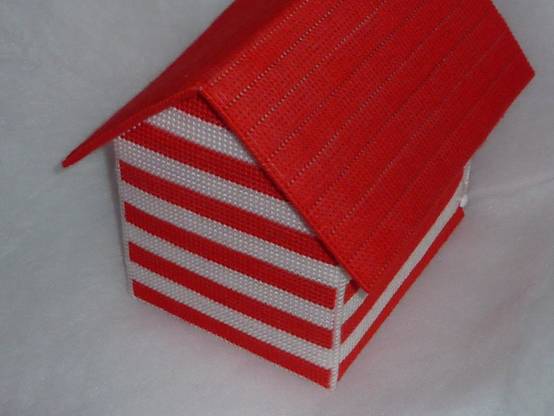
The hut does not have to be red and white. Other popular colours for beach huts are: green, yellow and blue.
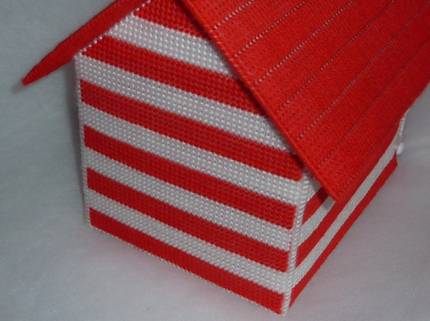
The back of the hut
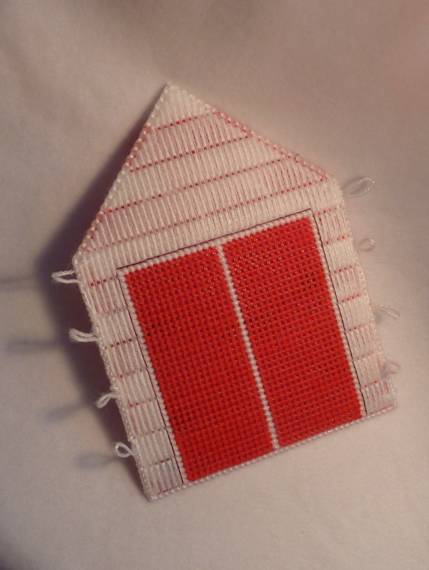 The inside of the front wall
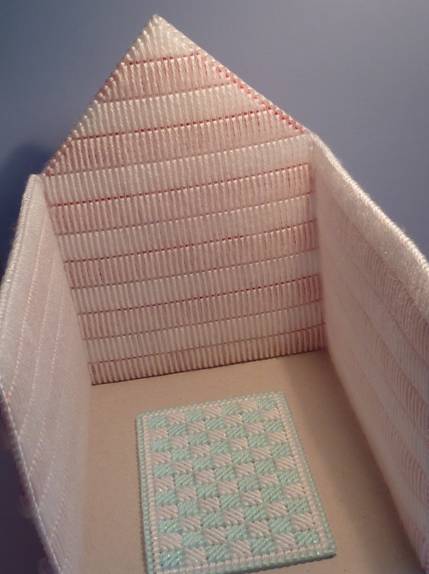 The inside of the hut
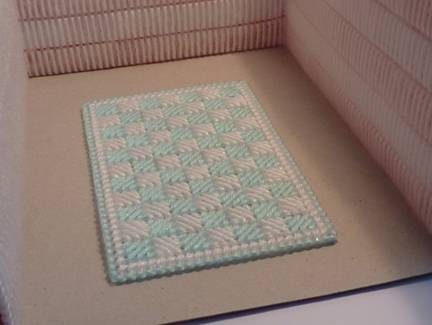 The floor of the hut
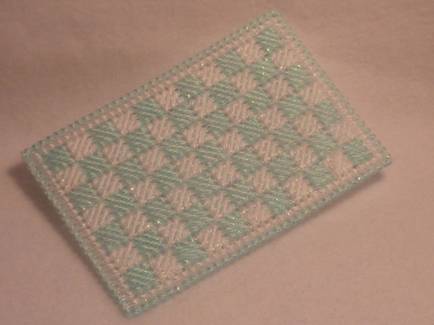 The mat can be any size you like
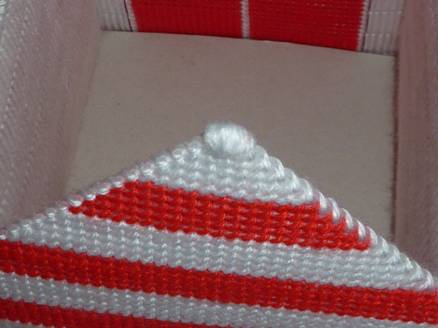
Don’t leave sharp points at the top of the end walls
Please note that the material on this blog is for personal use and for use in classrooms only.
It is a copyright infringement and, therefore, illegal under international law to sell items made with these patterns.
Use of the toys and projects is at your own risk.
©Christina Sinclair Designs 2015
ANSWERS TO LAST WEEK’S WORKSEARCH
|
F |
||||||||||||
|
S |
N |
O |
W |
|||||||||
|
T |
G |
|||||||||||
|
R |
A |
I |
N |
B |
O |
W |
||||||
|
A |
L |
R |
||||||||||
|
I |
I |
M |
||||||||||
|
S |
U |
N |
Z |
|||||||||
|
C |
L |
O |
U |
D |
Z |
|||||||
|
E |
A |
|||||||||||
|
E |
R |
|||||||||||
|
T |
P |
U |
D |
D |
L |
E |



Your home is valueble for me. Thanks!
Thank you Everett!