Salty Sam’s Fun Blog for Children
Number 110
Christmas Trees
Hello Everyone
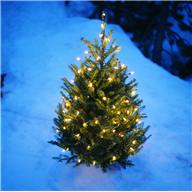
At Christmas do you have a real Christmas tree in your home or an artificial tree? lf you have an artificial one, do you fold it away with all the decorations on it to save time when putting it up the following year?
Traditionally Christmas trees were a tree called the Norwegian Spruce. Nowadays, shops favour fir trees which do not drop their needles in the same way – but unfortunately they don’t smell the same way either. (l suppose you could always plug in a pine air freshener somewhere nearby).
Originally trees brought into the house would be decorated with edible things such as nuts and dried fruit like apple or orange rings. ln Victorian times, these decorations were sugared ornaments, but nowadays we have bright shiny tinsel and baubles.
Long ago, they used to clip candles onto the branches. Modern fairy lights are probably safer!
The tradition of bringing evergreen foliage like mistletoe and holly into the house started with the pre-Christian religion of Paganism.
Pagans celebrated Yule; a festival to celebrate the shortest day of the year or the ‘Winter Solstice’, after which the sun climbs higher into the sky to give us longer days. During this celebration they gave children presents.
The ‘Holly King’ represented winter’s hold on the earth and the mistletoe represented fertility (producing new life) which of course is not possible without the Sun.
The tradition of bringing trees into the house started in Britain as an imported tradition from Germany in 1800 by the Royal Family. Queen Victoria had the memory of trees in the house from childhood. But the custom really became more widespread across the country when she married the German Prince Albert.
Norway gives Britain a present of an enormous tree every year to put in Trafalgar Square as a token of thanks for British support for Norwegian resistance in the Second World War. This is a really lovely thing to do. Years ago, the trees used to have coloured lights on them but now they are all white to honour Norwegian tradition.
lf you buy a tree that is grown in a pot and has roots, you will be able to put it out in the garden after the holidays and keep it alive.
ln order to keep it happy indoors you should keep it in a coolish corner and give it lots and lots of water to drink. Put its pot in a deep tray that can be topped up with water every day.
lt is actually better to have two trees so that they each have two years to recover out in the garden before you bring them back into the house.
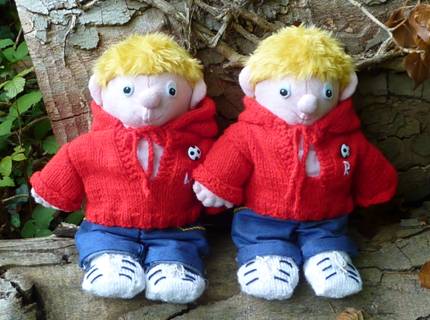
Bill and Bob have a tree each that they chose at the Rocky Bay Plant Nursery and take it in turns to bring their tree in for Christmas. The one left outside in the front garden still has decorations put on it.
When the trees get too big for their house and garden they are going to put them in Auntie Alice’s garden (because it is much bigger than theirs) and she will put special fairy lights that can be used outside on them at Christmas.
When the boys bought the trees they were each as tall as they were, but eventually they will be taller than a house!
lf you want to make some decorations for your tree, you can find some on Blog Posts 58, 77 and 107.
Bye bye everyone – don’t forget to subscribe to my blog!
lf you like my blog, please support it by telling all your friends and followers about it.
Thank you!
And see you again next Fun Friday!
Love and kisses
Salty Sam

www.christina-sinclair.com

Bill and Bob’s Joke of the Week![]()
![]()
Bob: What did Santa Claus’ wife say during a thunderstorm?
Bill: l don’t know. What did Santa Claus’ wife say during a thunderstorm?
Bob: Come and look at the rain, dear.
Salty Sam © Christina Sinclair 2015
Unauthorized use and/or duplication of material from this blog without express and written permission from this blog’s author and owner is strictly prohibited.
Links may be used to www.christina-sinclair.com

Picture Gallery

Mistletoe
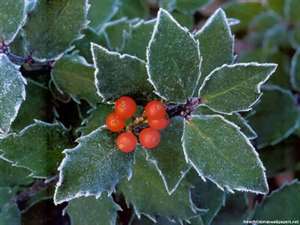 Holly
Holly
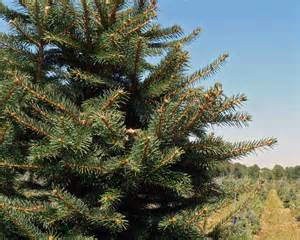 A Norwegian Spruce being grown commercially
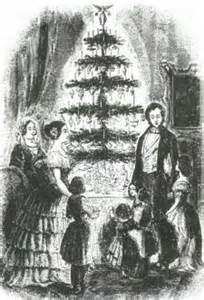
Queen Victoria and her husband Prince Albert
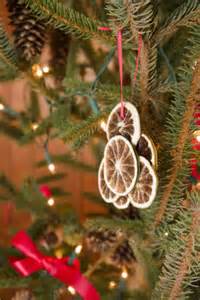 Dried orange rings
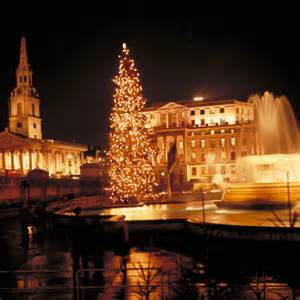 Trafalgar Square
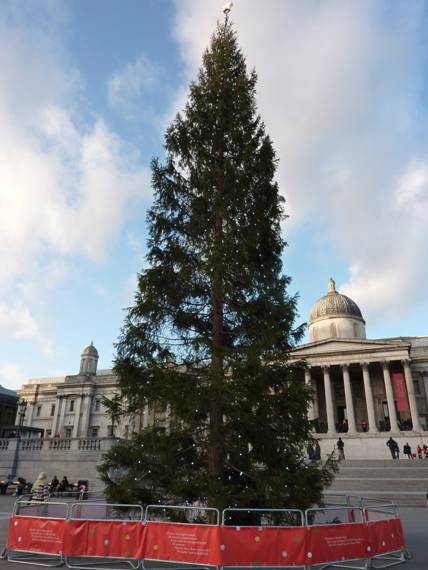
The lights on the Trafalgar Square tree hang down in cascades and are lit all day
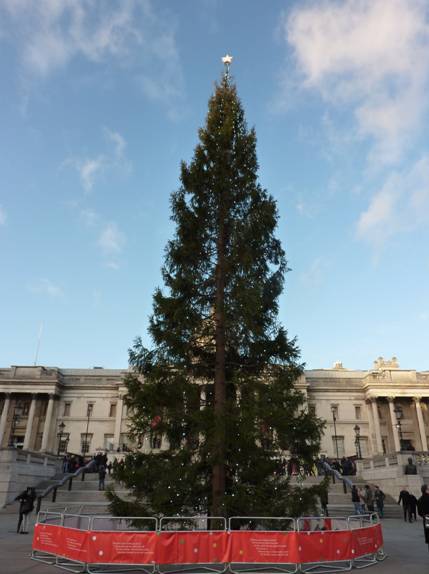 There is a white star on the top
 A heavily ornamented tree in Covent Garden
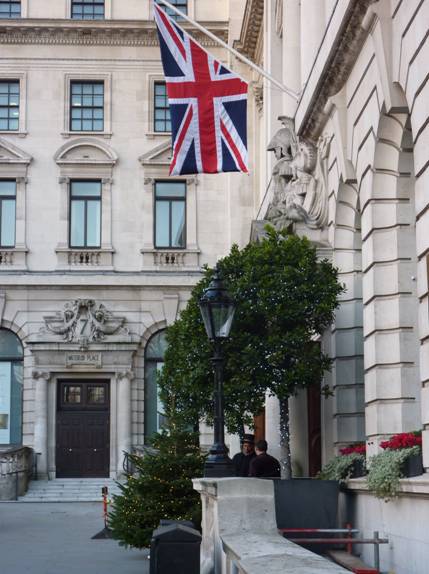
Christmas trees are put everywhere
 Holly with dark green and yellow leaves
 Holly with bright red berries
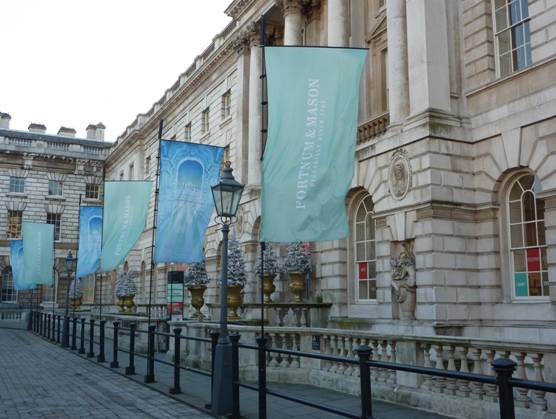
Somerset House
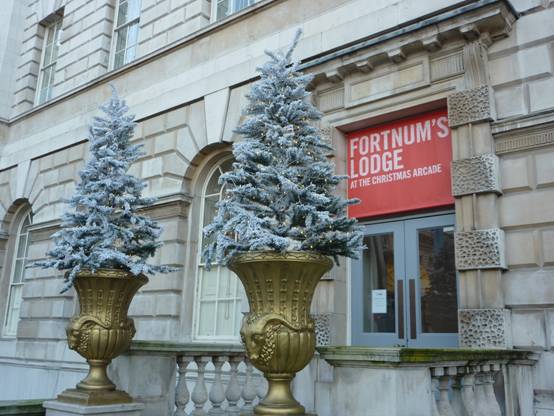 These trees have been sprayed to make them look snow-covered
 When people don’t have room for trees they can have wreaths instead

Trees along the top of the entrance to The Savoy Hotel
 Hanging them upside down to save space
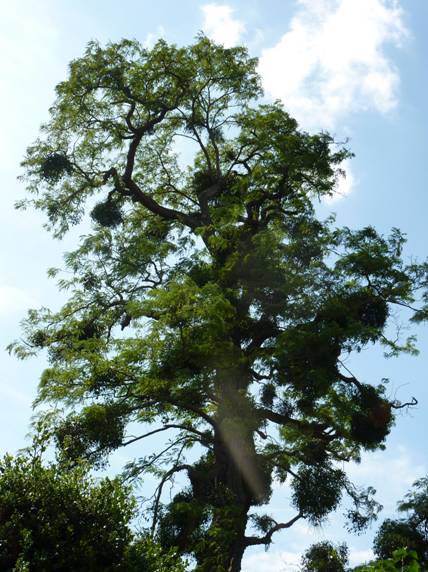 Mistletoe seems to love growing on acacia trees
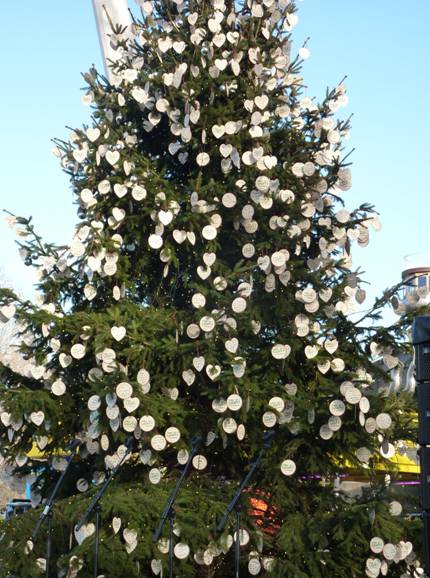
A tree with messages
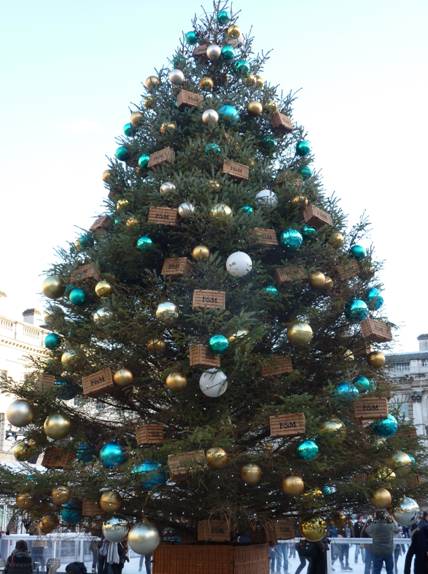
A tree with Forntum and Mason hampers
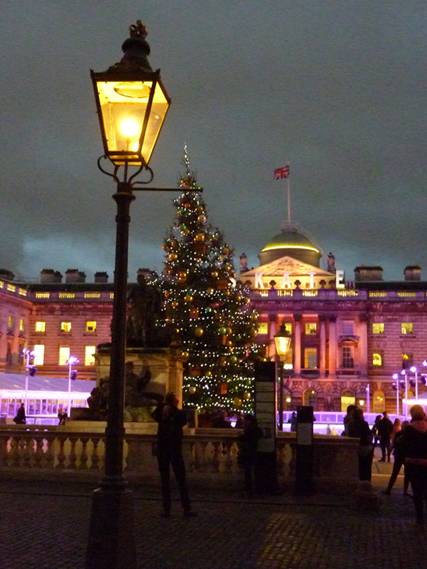
Skating at Somerset House

 THE SALTY SAM NEWS DESK

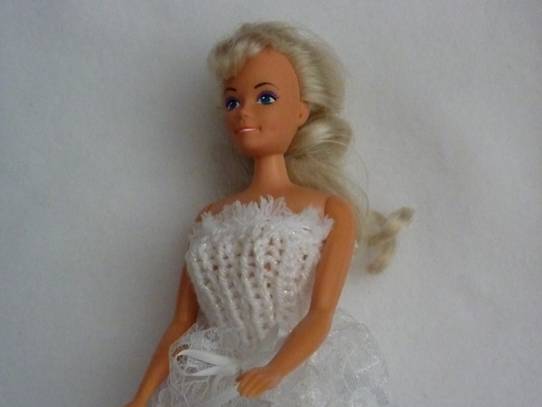
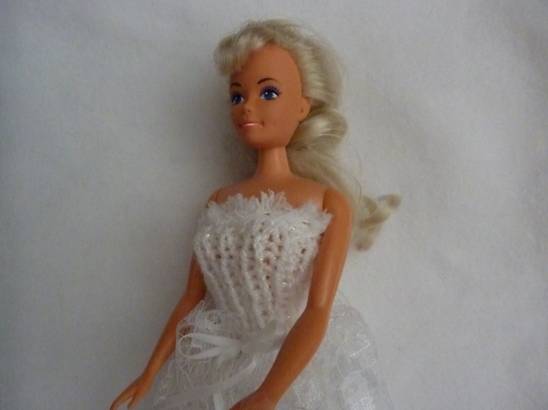
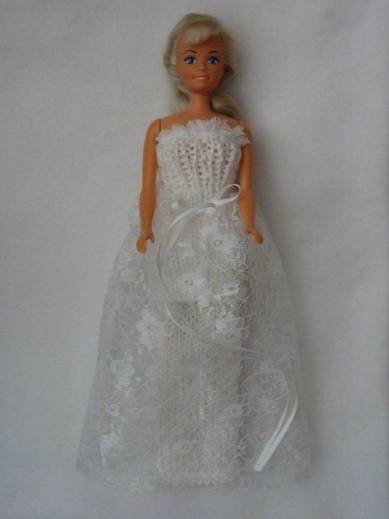
Last Christmas, Emily desperately wanted her little doll to stand at the top of the Christmas tree.
Auntie Alice said that she would make the doll a special dress so that she would look just like a fairy.
If you would like your doll to look like Emily’s, then here is the pattern that you can use.
NEWSDESK MINIMAKE
A 12” DOLL FAIRY DRESS
SKIRT (KNIT ONE)
Using 4mm knitting needles and white dk yarn cast on 30 stitches
Knit 2 rows of garter stitch
Knit 40 rows of stocking stitch
Slip 1 (p1 k1) repeat the last 2 stitches until 1 stitch remains p1
Repeat the last row 5 times
Cast off
BODICE (KNIT ONE)
Using 4mm knitting needles and white dk yarn cast on 30 stitches
Knit 2 rows of garter stitch
Knit 16 rows of stocking stitch
Slip 1 (p1 k1) repeat the last 2 stitches until 1 stitch remains p1
Repeat the last row 11 times
Cast off
SKIRT (MAKE ONE)
Cut a piece of non-fray lace fabric 35cm by 25cm
Turn down the long edge by 5cm and sew a running stitch 1cm up from the raw edge
Thread a length of narrow white ribbon (60-70cm) through the channel that you have just created.
TO MAKE UP
Edge the top of the bodice with textured white yarn.
Sew up the back seam of the bodice and sew up the back seam of the skirt right sides together and then turn right side out.
Pull the bodice up the doll and slip the knitted skirt underneath.
Tie the skirt around the waist.
TIP
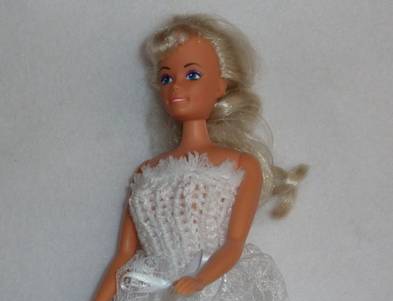
The dress would look nice too if the white yarn had a glitter thread incorporated into it.
You can sew a length of tinsel to the bottom of the skirt and even to the bottom of the bodice as well if you would like to – and you could make a crown of tinsel to go on your fairy’s head.

Auntie Alice was teaching Emily how to do cross stitch this week.
It is always easiest to start with a little kit when you are learning. Then you have all the materials you will need and the instructions. With a small piece of work you won’t even need a frame to hold the fabric taught.
But there is a clever way you can make your own cross stitch pictures as well.
Firstly, choose a small and simple picture with no background. Say for example your favourite cartoon character.
Place a clear plastic sheet that has been gridded into squares over the picture and make sure it does not move! Tape it on if you can.
Look carefully at all the colours you see through the squares on the plastic and colour in the corresponding squares on a sheet of graph paper that has plenty of small squares.
The coloured squares on the paper will become your chart.
TIP
You can curve your outline if you want to by only stitching one half of a square (diagonally). That is to say one half of the cross goes across as usual but the other only goes from a corner into the centre.
This diagram just shows you which part of the square should be filled.
|
\ / \ |
|
\ / / |
|
\ / \ |
|
/ / \ |
Don’t forget to over-sew the edges of your material before you start, to make sure they don’t fray, and start working from the centre of your design outwards to help the fabric keep its shape – this should not be a problem on a small picture.
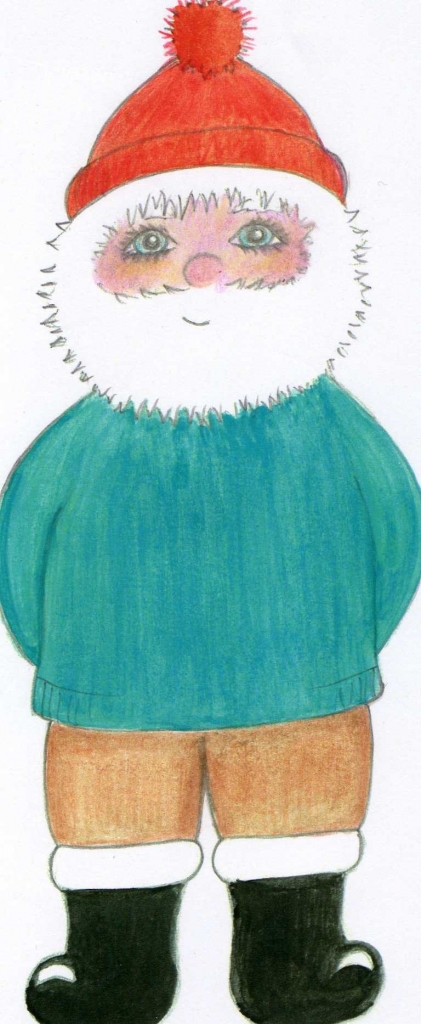

This is our selfie taken in the cinema this week! ![]()

*********************
TO ADVERTISE ON THIS BLOG
PLEASE CONTACT:
christina.sinclair.ads@aol.co.uk
*********************


Quick Quiz
- How do you know that all Santa’s reindeer are females?
- What are reindeer called in North America?
- What do reindeer mostly eat?
- Which country has a reindeer on one of its coins?
- Who were Rudolph’s friends?

BLOW MY FOGHORN!!!
PLUS
Salty Sam fans can join in with their comments and share them with children all over the world. You will need to ask permission if you are not an adult.
Enter your e-mail address to subscribe to my blog and receive new Salty Sam Blog Posts for free by e-mail every week. Your address will be kept private and will not be shared with any third party.
Sign me up at the side bar


lt’s the Weekend

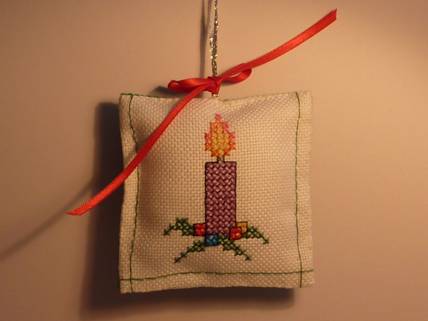
HOW TO MAKE CROSS-STlTCH HANGlNG DECORATlONS
Cross stitch is a very easy embroidery technique to learn.
Here are a few tips to get you started:-
- Work from the middle outwards for your work to keep its shape (this is more important on bigger pieces of cross stitch).
- Find the middle by folding the fabric in half both ways.
- Over sew the edges of the fabric with white tacking thread to stop them fraying.
- Put a knot in your first thread, put it at the front and cut it off from behind when you have sewn enough crosses to secure the thread – or just hold the end against the back of the fabric until it is held by your work.
- Make sure that you always sew your crosses the same way.

This decoration is worked on a 10cm/4¼ inch square of even-weave or cross-stitch fabric and backed with a 7½cm/3 inch square of felt.

You will need a 20cm/8 inches length of cord or ribbon for the loop and a 25cm/10 inches length of ribbon for the bow.
- Over-sew around the edge of the fabric in as far as about ½cm/¼ inch to prevent it fraying.
- There is no need for you to use a hoop for this project.
- Fold the fabric in half both ways and pinch it in the middle to find the centre of the fabric.
- You could colour in the chart before you start using it if you think it would help you.
- Use 1 strand of black embroidery thread to outline the candle, wick and baubles.
- Add a frame of green back-stitches worked in one strand if you would like to.
- When the picture has been worked fold back the edges of the fabric and sew to the felt backing using over-sew stitches leaving a gap at the top for stuffing.
- Lightly stuff and close the gap.
- Add a loop to hang up your decoration and add a bow.

THE CANDLE CHART
X = Centre Line
O = Orange
I = Pink
Y = Yellow
E = Grey
P = Purple
R = Red
B = Blue
G = Green
|
X |
||||||||||||||||||
|
I |
||||||||||||||||||
|
O |
||||||||||||||||||
|
O |
O |
I |
||||||||||||||||
|
O |
Y |
I |
||||||||||||||||
|
I |
Y |
Y |
Y |
I |
||||||||||||||
|
O |
Y |
Y |
Y |
O |
||||||||||||||
|
O |
Y |
Y |
Y |
O |
||||||||||||||
|
O |
Y |
O |
||||||||||||||||
|
E |
||||||||||||||||||
|
P |
P |
P |
P |
P |
||||||||||||||
|
P |
P |
P |
P |
P |
||||||||||||||
|
P |
P |
P |
P |
P |
||||||||||||||
|
P |
P |
P |
P |
P |
||||||||||||||
|
X |
P |
P |
P |
P |
P |
X |
||||||||||||
|
P |
P |
P |
P |
P |
||||||||||||||
|
P |
P |
P |
P |
P |
||||||||||||||
|
P |
P |
P |
P |
P |
||||||||||||||
|
P |
P |
P |
P |
P |
||||||||||||||
|
G |
G |
P |
P |
P |
P |
P |
||||||||||||
|
G |
G |
G |
G |
R |
R |
P |
P |
P |
P |
P |
Y |
Y |
||||||
|
G |
G |
G |
R |
R |
P |
P |
P |
P |
R |
R |
Y |
G |
G |
|||||
|
B |
B |
G |
G |
R |
R |
G |
G |
G |
G |
|||||||||
|
G |
G |
B |
B |
G |
G |
G |
||||||||||||
|
G |
G |
G |
G |
G |
G |
|||||||||||||
|
G |
G |
G |
||||||||||||||||
|
G |
G |
|||||||||||||||||
|
X |

TIP
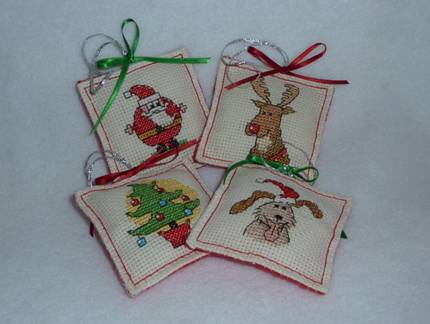
You can find little embroidery kits to make when you are starting to learn cross stitch that can be made into hanging decorations like this one.
MORE TIPS FOR DOING CROSS STITCH
- Cross stitch is usually done on fabric called Aida – there are different sizes and colours.
- Embroidery threads are sometimes called silks in Britain and floss in American patterns.
- They come in strands of six threads – untwist them to take out the number of threads you want.
- After sewing around the edge of your fabric (with sewing thread) always grid a large piece of embroidery using good quality white or light-coloured thread (that will not leave coloured fibres when pulled out) in blocks of ten and then you will find your way around a pattern more easily.
- Crosses are usually done using two strands.
- Black outlines, if used, are done in one strand.
- Back stitches are usually sewn in one strand.
- You can carry your thread across the back of your work to go to a different place as long as it is not too far away and secure your thread with a few stitches when you have finished with it – don’t let the threads carried across your work pucker the fabric up.
- Bigger pieces of embroidery will need to be done in a frame but never leave work in a hoop overnight or longer because the fabric will stretch and a circular mark will be left in the fabric.

These kits were bought in Hobby Craft
Please note that the material on this blog is for personal use and for use in classrooms only.
It is a copyright infringement and, therefore, illegal under international law to sell items made with these patterns.
Use of the toys and projects is at your own risk.
©Christina Sinclair Designs 2015

Quick Quiz Answers
- We know because only females keep their antlers over the winter. (Although Rudolph is a boy’s name so maybe they are magic reindeer.)
- Caribou
- Lichens
- Canada
- Dasher, Dancer, Prancer, Vixen, Comet, Cupid, Donner and Blitzen (the last two names are German for thunder and lightning).

For an Embroidery Stitches Chart
Check out Blog Post 3


